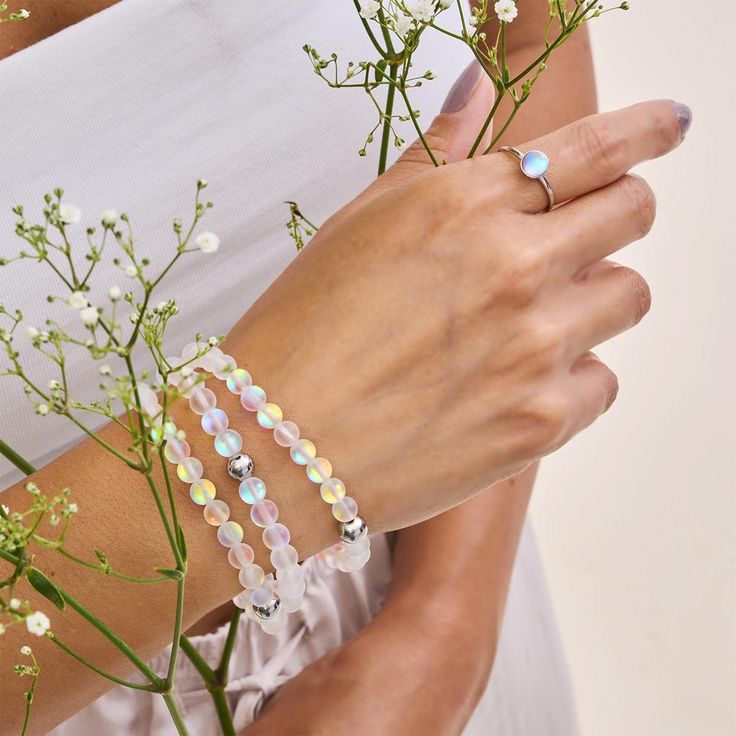
In a world where personal style reigns supreme, there’s no better way to make a statement than with a custom piece of jewelry. And what better way to show off your crafty side than by making your own beaded bracelets? In this step-by-step guide, we will walk you through the process of creating beautiful and unique beaded bracelets that are sure to turn heads. Whether you’re a seasoned DIY enthusiast or a beginner just dipping your toes into the world of jewelry making, this guide has everything you need to create your own stunning accessories. So grab your beads and let’s get started on creating some one-of-a-kind arm candy!

Materials Needed for DIY Beaded Bracelets
Before you begin making your own beautiful beaded bracelets, you’ll need to gather a few essential supplies. Here is a list of everything you’ll need to get started:
- Beads: Choose a variety of beads in different shapes, sizes, and colors to create unique designs.
- Stretch cord or jewelry wire: This will be used to string your beads together and create the bracelet.
- Scissors: To cut the cord or wire to the desired length.
- Clasps or closures: These will be used to secure the bracelet once it’s finished.
- Needle-nose pliers: Helpful for tightening and securing the closures.
Once you have gathered all of your materials, you’ll be ready to start creating your own stunning beaded bracelets. Get creative with your bead choices and have fun experimenting with different designs!
Choosing the Right Beads for Your Design
When it comes to creating your own DIY beaded bracelets, choosing the right beads is crucial to achieving the perfect design. With so many options available, it can be overwhelming to know where to start.
One important factor to consider is the size of the beads. Larger beads can create a bold statement piece, while smaller beads offer a more delicate look. Think about the overall aesthetic you want to achieve and choose beads that complement your vision.
Another consideration is the material of the beads. From glass and crystal to wood and metal, each material brings its own unique texture and shine to your design. Experiment with different materials to see which ones best suit your style and preferences.
Don’t forget to think about the color scheme of your bracelet. Whether you want a monochromatic look or a vibrant mix of hues, selecting beads in coordinating colors will help tie your design together. Mix and match different colors and finishes to create a truly one-of-a-kind piece that reflects your personal style.
Step-by-Step Instructions for Creating Your Beaded Bracelet
To start creating your own beaded bracelet, gather all the materials you will need: various beads in different sizes and colors, stretchy elastic cord, scissors, and a clasp if desired. Once you have your materials ready, follow these simple steps to craft your unique accessory.
First, measure the elastic cord around your wrist and add a few extra inches for tying knots. Cut the cord to your desired length using the scissors. Next, thread the beads onto the cord in the pattern you have chosen. Mix and match colors and sizes for a personalized touch.
After threading all the beads onto the cord, tie a secure knot at the end to keep the beads in place. If you are using a clasp, attach it to the ends of the cord for easy wear. Finally, trim any excess cord and your beaded bracelet is ready to wear!
With just a few simple steps, you can create a beautiful and customized beaded bracelet to complement any outfit. Experiment with different bead combinations and designs to make a one-of-a-kind piece of jewelry that reflects your personal style. Enjoy the process of crafting your own accessories and have fun expressing your creativity through beadwork.
Tips and Tricks for Successful Bracelet Making
Creating your own DIY beaded bracelets can be a fun and rewarding activity. To ensure your bracelets turn out beautifully, here are some tips and tricks to keep in mind:
- Choose the right materials: Select high-quality beads, charms, and stringing materials for your bracelets. This will ensure that your creations look professional and last longer.
- Experiment with different designs: Don’t be afraid to try new patterns and color combinations. Mixing and matching beads can lead to unique and eye-catching bracelets.
- Use the right tools: Invest in good quality jewelry tools such as pliers, wire cutters, and bead mats to make the bracelet-making process easier and more efficient.
By following these tips and tricks, you’ll be well on your way to creating stunning beaded bracelets that you’ll be proud to wear or gift to others.
As you can see, creating your own beaded bracelets is not only a fun and rewarding experience, but also a great way to express your personal style. With just a few simple materials and a little bit of creativity, you can design and make beautiful bracelets that are sure to be the envy of all your friends. So what are you waiting for? Grab some beads and get started on your own DIY beaded bracelet today!


